Blender newbie

I spent many recent evenings reading about 3D design and software. Then I decided to download some free software; first I tried Design Spark, then Sculptris, then Blender. Blender 2.69 seems to be the most powerful of the three, and unlike the other two, it hasn’t crashed on me yet.

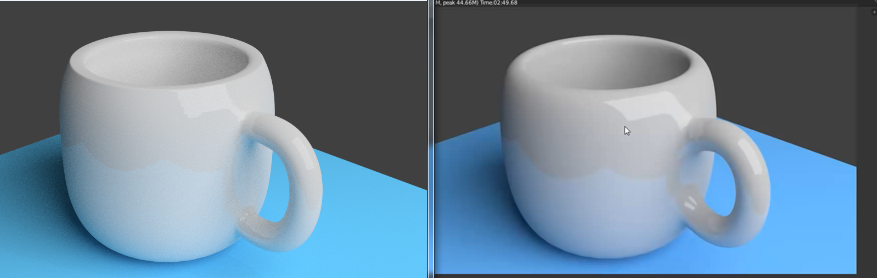
A great thing about Blender seems to be tons of helpful tips contributed by its deep user base. I found this coffee cup tutorial from LittleWebHut.com’s YouTube channel. The speaker is very clear and precise, yet avoids being condescending. With much pausing and rewinding, I was able to complete both the cup…

screencap cup render
My attempt is on the left.

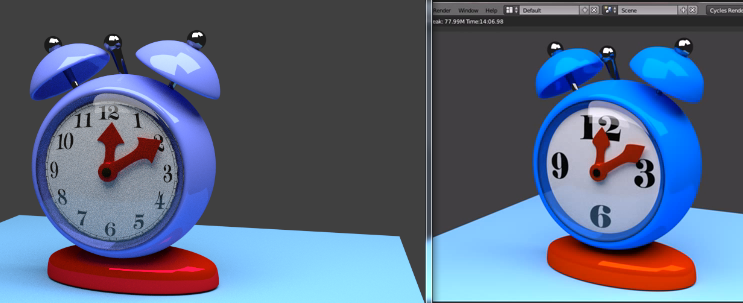
…and the alarm clock tutorial in one evening:

Captureclock
Mine is on the left, a bit grainy compared to the professional version. I think it has something to do with the “Clamp” settings.

Can’t wait to learn more!


If you want to feel pure wonderfulness…

As my office job quit date nears, I am re-developing my artistic muscles, which DO indeed atrophy!

In order to get back into art making, I thought I’d enjoy some basic drawing, and my mom gave me an old Koh-I-Noor rapidograph which had lain in a drawer for years. The worn sticker on the plastic box still reads, “Made in USA, Bloomsbury, NJ.” Good times.

Rapidographs are great, but they are pricey and fragile. After much cleaning, soaking in Speedball Pen Cleaner, and threading with fine wire from an old pair of headphones, I was only able to get about 30 minutes of continuous operation from the old pen. So I picked up a set of Sakura fine pens. (There may be some other factors affecting the Koh-I-Noor’s operation, but darned if I can figure them out right now.)

The Sakura pens flow beautifully, especially on the 5″x7″ Claybord I’m using. If you want to feel pure wonderfulness, take a mechanical pencil to some Claybord! Doodle away!

Week 7 – BETA/FINAL PROTOTYPE

1. The name you will give your artifact. — I would call it the “Bri-Den” (because it brightens my den,) but that is just too cheesy…

2. One or more nice images of your prototype. — Well, I used the wrong type of material for waterproofing. The thick coats of paint were adequate, but the construction adhesive turned our NOT to be waterproof. So when it rained the other day, the edging sloughed off and doesn’t look very pretty! I have to scrape it off and re-seal with caulk.

3. Some background on the gap — I live in a basement apartment, so there’s not much natural light. I wanted to devise a way to increase the amount of light entering the room. (Mirrors inside the room only bounce the existing light around. A mirror placed outside the room can direct more light into the room.)

4. next steps to further refine and develop your artifact — re-seal the edges with caulk for better waterproofing.

5. Any other information —  For grading purposes, please keep in mind that this application is for personal use. This was not designed for mass production.

The Coursera class is now finished — phew! No more homework and midnight deadlines for a while. While this course was bent a bit towards commercial product development, I did learn quite a bit and revitalized my interest in 3D printing and fabrication. More on that later…