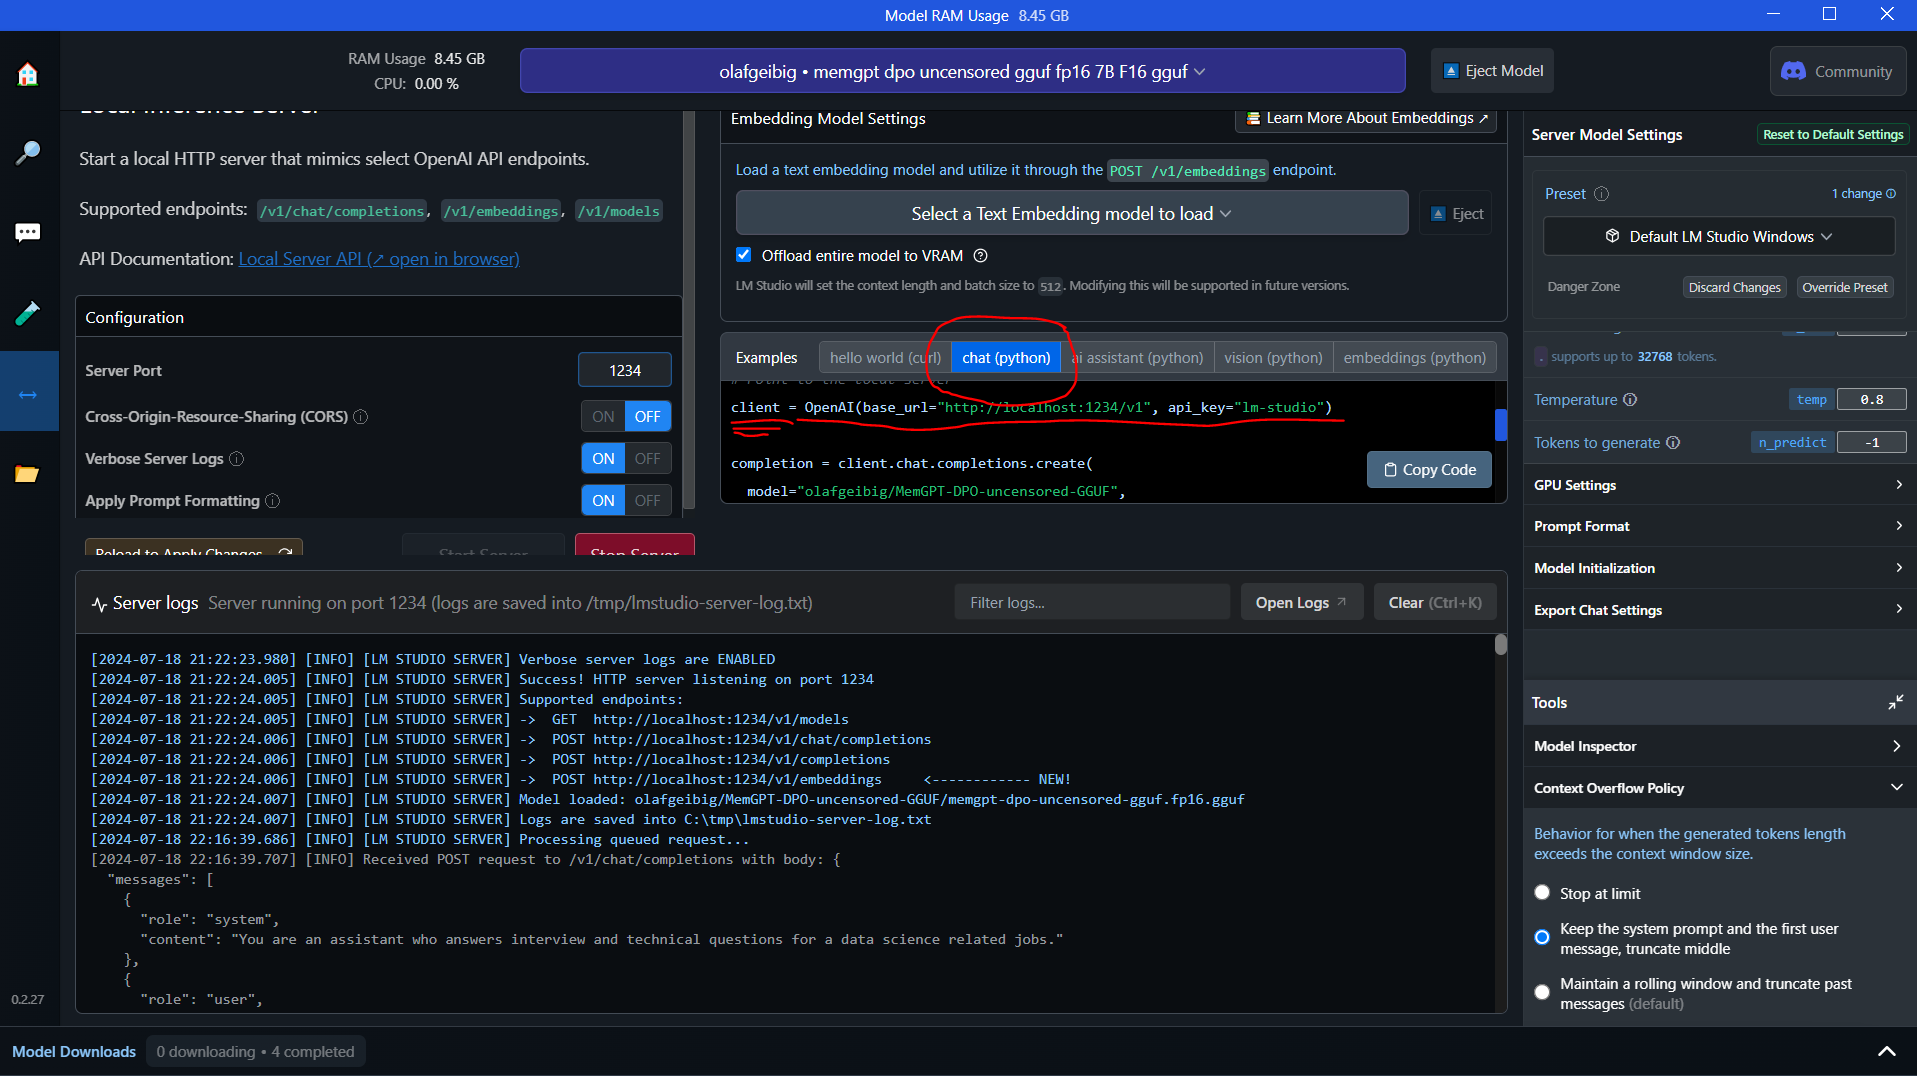
Coming back from a conference or event with dozens of business cards? (Or worse – handwritten sticky notes)
Networking board at the 2025 NYC Small Business Expo
Ain’t nobody got time to sit down and type up all these cards and notes manually one by one. Back in the day, you used to need a card reader machine, or more recently, a card scanning mobile app.
However now you just get your AI assistant to do things for you — simply upload the photos into the AI chat and request not only an OCR scan but specify the output as well:
Asking Claude what it can see can sometimes save time prompting
The trick is to take as clear a photo as possible so as to be able to extract the most accurate information.
You can even ask Claude (or your LLM of choice) to generate contact files / Vcards which can be easily imported into your email contacts.
Subscribe for more time-saving AI use-cases for your business! And don’t forget to book your session.
Rolling out to Queens businesses now, with the broader New York area access coming soon
The best time to get started with AI was perhaps a few years ago.
The second-best time is now!
That’s what I’m sharing with female founders, women in business, and women-owned businesses in Queens, NY. The takeaway is — if you haven’t used AI tools to save you at least 2-10 hours of work per week yet, now’s your time!
I’ve been teaching a variety of topics for the past 14 years, so empathy, virtual tools, and teaching with metaphors, visual aids, and patience is my jam. I’m so happy to bring you into the world of AI tools and delegate those painful tasks you dread each week to your new AI assistant.
Is it invoicing? Marketing? Customer follow-up? Or just writing plans and proposals or reviewing lengthy contracts?
AI can help you save time and money. Book your consultation with me now to learn more (psst… it’s free).
Well, I got the main partition resized thanks to this blog post. It was turning off things like hibernation and system restore. Then I shrank the Windows partition down to about 98 GB. Take that, Windows!
Still can’t get rid of the obnoxious logo
After a reboot, it was pretty smooth sailing. After installing the proprietary NVIDIA drivers and restarting with a special pin entered from the boot partition, I restarted again. However, I got the error “Nvidia kernel module missing, falling back to nouveau” no matter what I tried.
So I started thinking I would need to install Arch Linux, as it seems to support NVIDIA drivers well. But another contender emerged: Pop!_OS. Yes, of system76 fame. I had heard of it many times but never tried it.
I made another live USB stick and split the Fedora partition in half, installing Pop!_OS (Secure Boot needs to be shut off otherwise the live USB likely won’t start).
Lo and behold, it worked out of the box. The keyboard backlighting can be controlled with the function keys just fine, although I haven’t tried changing the colors yet. Pop!_OS even wakes from suspend after lid close, something that I’ve seen fail many times on other OSes.
A trip to Microcenter is a candy store-like experience with good customer service and great selection. I bought a brand-new Asus ROG Strix, despite the exquisitely obnoxious branding and lighting, for my next Linux box.
I was told that for warranty purposes, should anything occur and I need to bring the machine in for service, I’d have to re-install Windows first. So while making the backup restore media and setting up (a local account) I decided perhaps it’s best to dual boot.
The Interwebs told me to go with Fedora, and who am I to argue. So I made a boot thumb drive and took it for a spin. I used to use Balena Etcher but this time I went with Fedora’s Media Writer tool which worked well (but for Windows 10 users, autoplay might need to be switched off before writing the drive). I was impressed that there was even some limited lighting control out of the box.
But the ASUS problems started coming fast and furious. Top priority had been to flash the BIOS in order to remove the hideous “Republic of Gamers” boot loading logo, but alas, the tool for that was not available for my specific motherboard. Oh well; I shall have to just avert my eyes during the boot sequence for now.
Next up, I couldn’t access the main partition from inside the Fedora live preview; in disk management there was a little padlock icon and the word “Bitlocker.”
What in tarnation. Pretty sure I toggled that off during Windows setup, so I was a tad confused. Booting back into Windows settings, there was a button which said, “Turn on Bitlocker”. Now I was even more confused, because it sure seemed to be on already.
Apparently Bitlocker encryption is default on Windows 11. Under Windows “Privacy & security”, there is a toggle to turn off Device Encryption. Once I shut that off, it said “decrypting” for a few minutes, and then I was able to go back into Fedora live OS and access the drive.
Another hurdle: Fedora tells me “Not enough free space on selected disks.” Microsoft hogs 5 partitions full of goodness-knows what. So I toddle off into Windows Disk Management to resize the main partition. Guess what — due to unmovable files, the partition could only be shrunk to about 800GB (leaving only about 200 for Fedora).
It’s bedtime, so tomorrow I will delete some expendable-looking things, run Disk Cleanup, and defragment to see if that will help. But I’m starting to think it’s not worth all this hassle to dual boot.
I recently needed certificate handling for some CraftCMS development. Using Chocolatey, I tried installing mkcert and nss (Network Security Services) but got the following error:
nss not installed. The package was not found with the source(s) listed.
Source(s): 'https://chocolatey.org/api/v2/'
(Yes, I have still not fully switched back to 🐧Linux yet! Getting there, but I am still using Teams breakout rooms — not available on Linux — and Outlook for my teaching gig, until that ends in a few months.)
So you want to support Firefox, even though Firefox doesn’t support you, o Windows developer?
Yes, let’s be the ‘bigger man’! LOL
Heavily adapted version of Johann ‘Myrkraverk’ Oskarsson’s handy blog post follows, with just a bit of updating for 2024.
It’s gonna require a LOT of steps, including installing Visual Studio Installer and Python, in case you don’t already have it installed — you’ll need Python to install a package called gyp-next :
I also used 7-zip in the terminal to extract the package (you’ll need to extract the .gz file, then extract the resulting .tar ball once more). Your filename will be different depending on the newer version you may download:
7z x nss-3.101.1-with-nspr-4.35.tar.gz
...
7z x nss-3.101.1-with-nspr-4.35.tar
Now you can go into the Visual Studio Installer graphical application. Click the Launch button:
This will launch a new type of terminal inside that app, like this:
Now you can cd into
cd C:\mozilla-build\msys2
Then enter the command:
msys2_shell
ANOTHER shell will pop open (keep the old window open) — enter your SSH password (nothing will appear at the prompt as usual) then hit Enter. It should say, “Identity added” to your local hosts.
Almost there. Now return to the terminal window which was launched by Visual Studio Installer (the one we kept open). CD into the extracted directory for NSS ( cd nss\nss-3.101.1 or whatever folder you created for it). Make sure you further cd into ‘nss’.
Lastly, run
build.sh
Now if you back out one level, you will see you have a new folder called ‘dist’. I don’t think you actually need this folder when just developing frontend applications, but let’s see! UPDATE: no, I have not needed it and it’s been 2 months. 😉
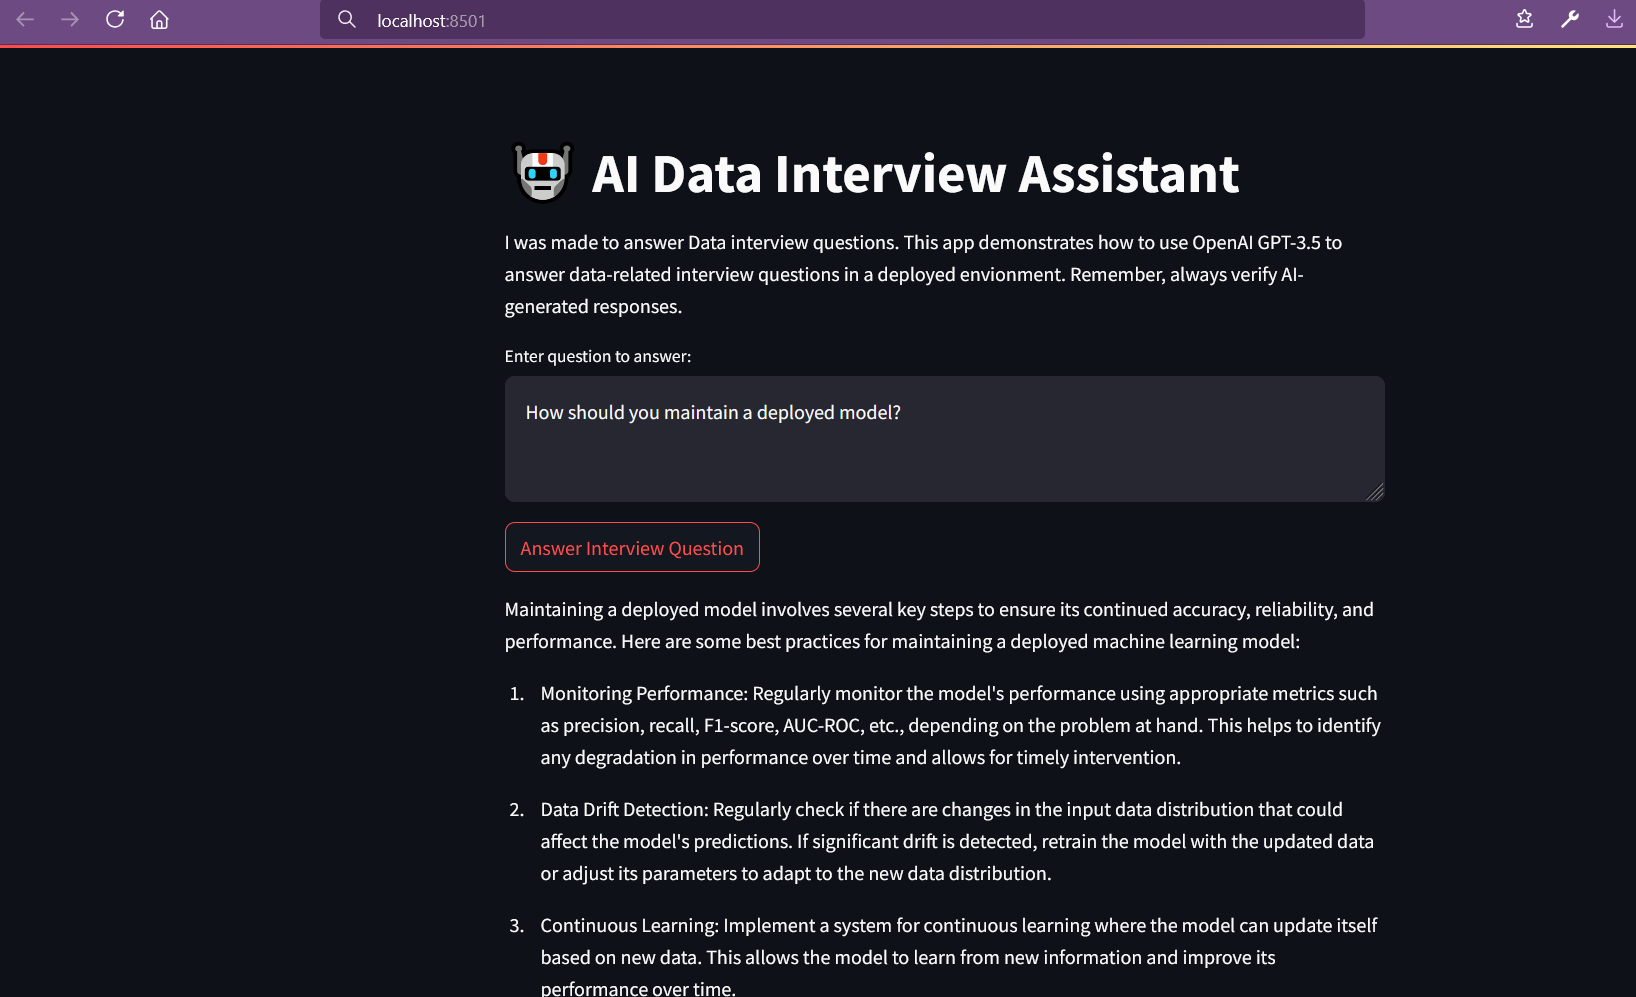
Taking a fun course with Lonely Octopus, I’ve been learning how to use pandas to clean data for analysis, and also how to quickly build a proof of concept/MVP using Streamlit.
Installing Streamlit locally on Windows in Gitbash threw an error:
$ pip install streamlit
WARNING: Failed to write executable - trying to use .deleteme logic
ERROR: Could not install packages due to an OSError: [WinError 2] The system cannot find the file specified: 'C:\Python311\Scripts\watn311\Scripts\watchmedo.exe.deleteme'
“Watchmedo”? Sounded like malware. I got scared and shut off my wifi for a sec. Then I calmed down and decided to run it in a venv instead. Created the venv:
$ python -m venv myenv
Then activate it (I’m using Gitbash for my shell):
Paste that into your Streamlit app.py file, replacing the ‘client’ variable. Make sure the model is loaded up, and that the server is running.
There are tons of settings to consider inside LM Studio. You also need to have enough memory to run the models! LM Studio’s Discord server is a good place to learn more.
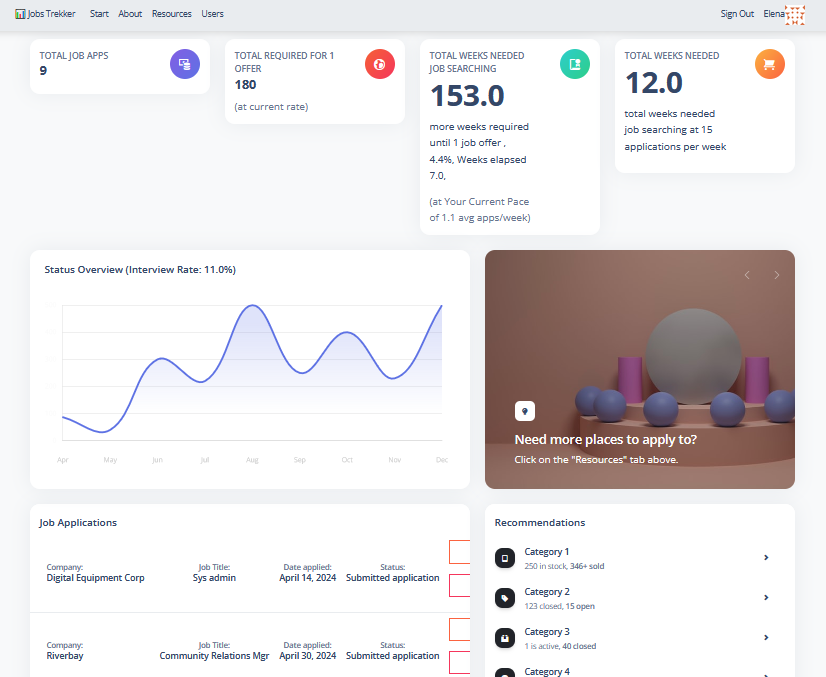
A big issue with my job tracking app for jobseekers was the terrible colors. “Just build an MVP, don’t worry about aesthetics,” was the vibe that led me to the weird green background color.
But that’s gone, now that a slick new ‘skin’ has been applied — the Argon dashboard for Django, an open-source package.
There are still a lot of other issues to be fixed, but that was a very pressing one which I think adds some momentum.
The Argon dashboard is installable via pip, so it’s easy to integrate. I wish I had used it from the beginning, because it kinda took over my routing — it assumes you want to use its login page (it has a password reset link and other bells and whistles which I’m not quite ready for yet). A few adjustments to urls.py and it was fixed.
It also comes with a lot of icons that I don’t need and will have to tweak. Overall it’s quite a robust package. If and when I get more users, I’ll pay for the commercial license, where there is also a bit of support via Discord.
Next is mapping the data points on the line graph correctly!
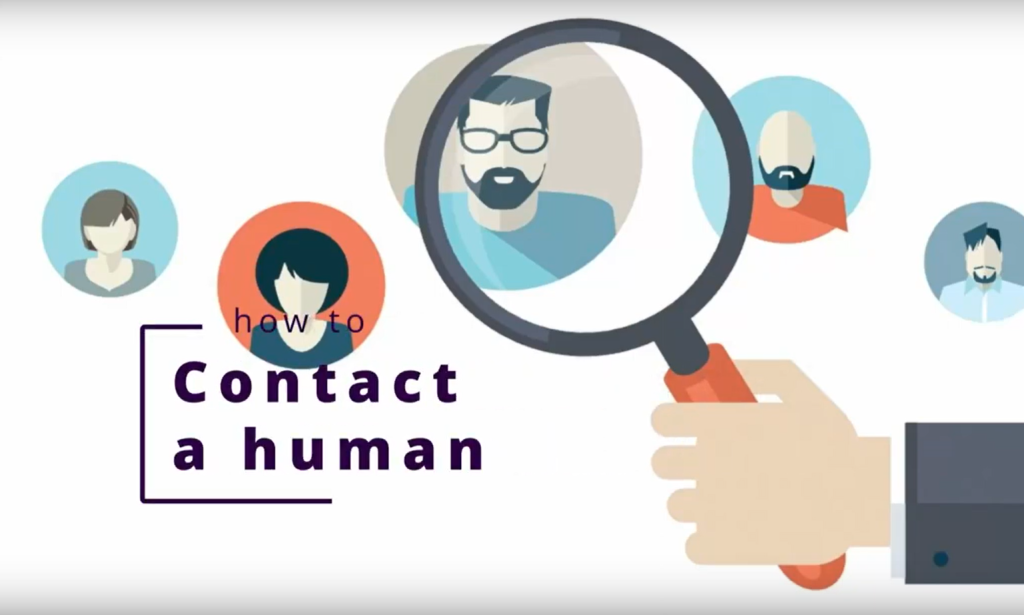
I’ve been giving free resume reviews on a couple of Discords for a few months now. Seeing some patterns appear — people are bemoaning the ghosting and the fake job posts, but still using the same approach and blaming their resumes.
So I made a video on the importance of and how to follow up after applying, with a human!
This is one thing I wish I would have learned earlier in my own career. We spent so much time “pounding the pavement” years ago, only to be told by some receptionist to “go to the website” in order to apply. We were trained to apply online, apply online, apply online. And just sit back and wait for the response!
In this video I explain how to actually follow up with a company once you’ve applied.
Oh yes, I am officially a YouTuber (cue fanfare.wav). In case you missed it: here’s a video walkthrough of the JobsTrek app. (Discussion of the code starts here.) I was a bit sleepy when I made this one, so let’s just says it’s not exactly electrifying YouTube. But I did enjoy making it! Someday I’ll invest in a proper video editor and make some cuts to these videos.
simple demo of the JobsTrekker Django app
It’s possible that I’ll relaunch once I’ve added an expanded dashboard. I had also started adding a chatbot using the Crisp.ai app integration, so I may again get to work with the OpenAI API…stay tuned.
Working with the Nucamp grads and prospective students again is also rewarding — they are a good group of folks trying to better their lives for their families, and seeing them help one another in the community is awesome.
Deciding whether to go further with the YouTube channel, I was able to host another couple of career workshop sessions for some job training clients from Goodwill NYNJ this month. It’s great to be able to offer my skills and just share my experience with what not to do!
Because I have some free time this evening (wow!) I thought I’d burrito-ify myself in front of the computer and finally make a photo viewer Android app for myself.
Let me back up a bit — since LG stopped making phones, I was forced to get a Motorola phone recently. It’s nice and all, but it doesn’t come with a photo viewer. Which means one must use all the Google apps (file viewer, Photos app, etc) to access one’s files.
This is no bueno.
So naturally I have simply not been opening my files on my phone. Unless someone has sent it to me via SMS or Discord or what have you, where I can view a preview. Or, if I upload it to my Proton storage, I’ll see a preview. (Even VLC Media Player seems to have failed me here — it doesn’t open 95% of the video files I task it with opening, for some reason.)
I got started with a video appropriately titled, “Getting Started With Ignite,” by Jamon Holmgren of Infinite Red. (https://www.youtube.com/watch?v=KOSvDlFyg20)
Install Yarn first if you want to follow this video smoothly (it can be installed via npm).
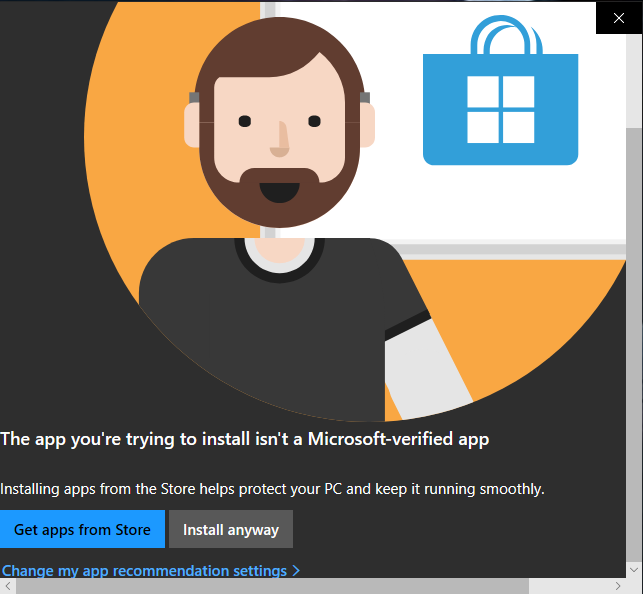
Deciding to upgrade to Node 20.8 to keep pace with the video, I downloaded the msi file from the official Node site, and double-clicked it — I didn’t have any reason not to install it globally on this machine. The usual “Get apps from Store / Install anyway” Microsoft warning appeared, but it had scroll bars; weird. I clicked “Install anyway” several times — nothing happened. Did a dreaded restart. Same thing. So I had to run it from inside PowerShell:
msiexec /i “node-v20.8.0-x64.msi”
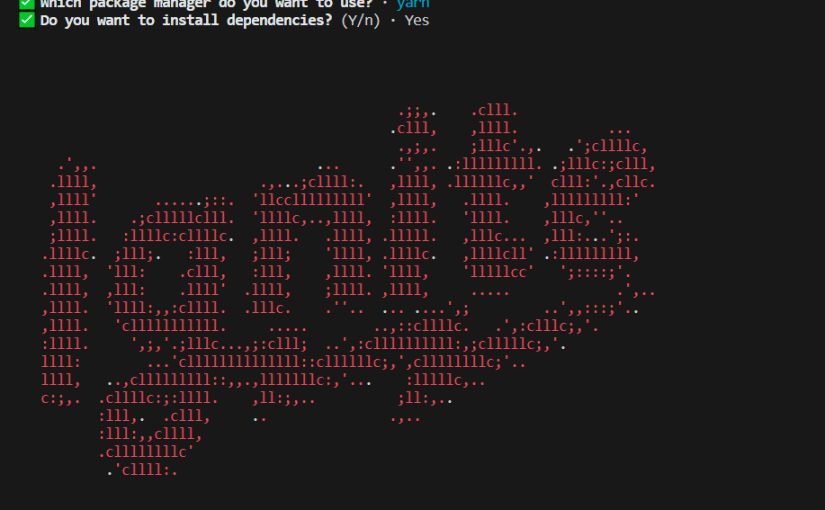
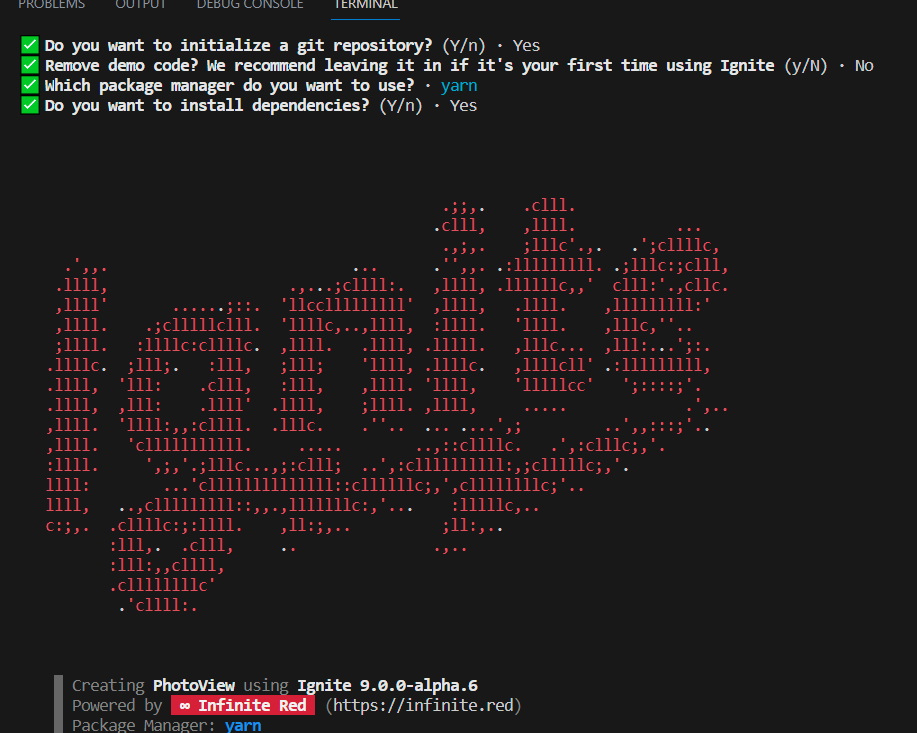
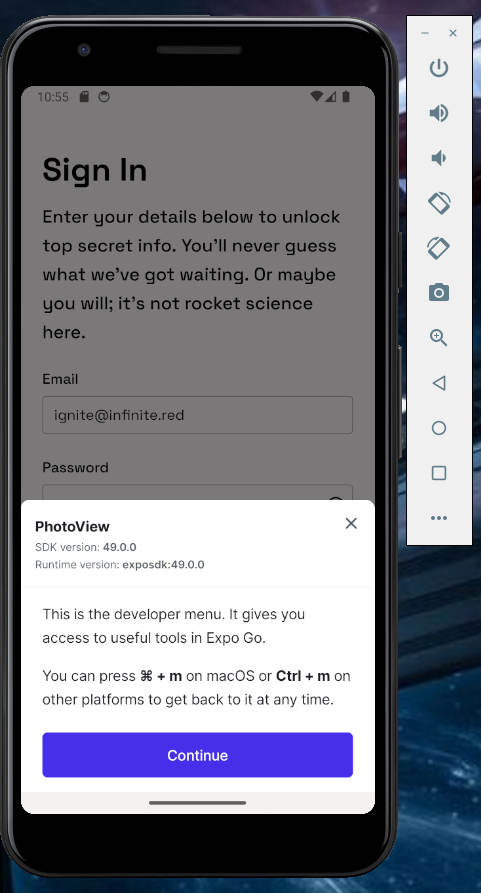
Quite irritating, but I thought it was just a fluke/bug. Next was npx ignite-cli@next new PhotoView
… and selected all the desired settings. I chose all the defaults. I enjoyed the lovely ‘splash screen’:
When I got to ‘yarn android’, the error, ‘Failed to resolve the Android SDK path’ appeared. I remembered that I’d never installed Android studio on this particular computer. Downloading from the official Android homepage, I again ran into the same Windows bug. This time the exe file would not run in PowerShell. My hubby suggested running the Compatibility troubleshooter, which worked, but it seems that the bug can also be bypassed by turning off that warning in the OS settings under Apps & Features > Choose Where to Get Apps.
However, now I’m getting, “Starting Metro Bundler CommandError: No Android connected device found, and no emulators could be started automatically.”
Yay, new error message! But I’m ready for bed now… to be continued. Ok, just kidding…I surfed around Twitter (Xitter?) for a bit, then got my second wind.
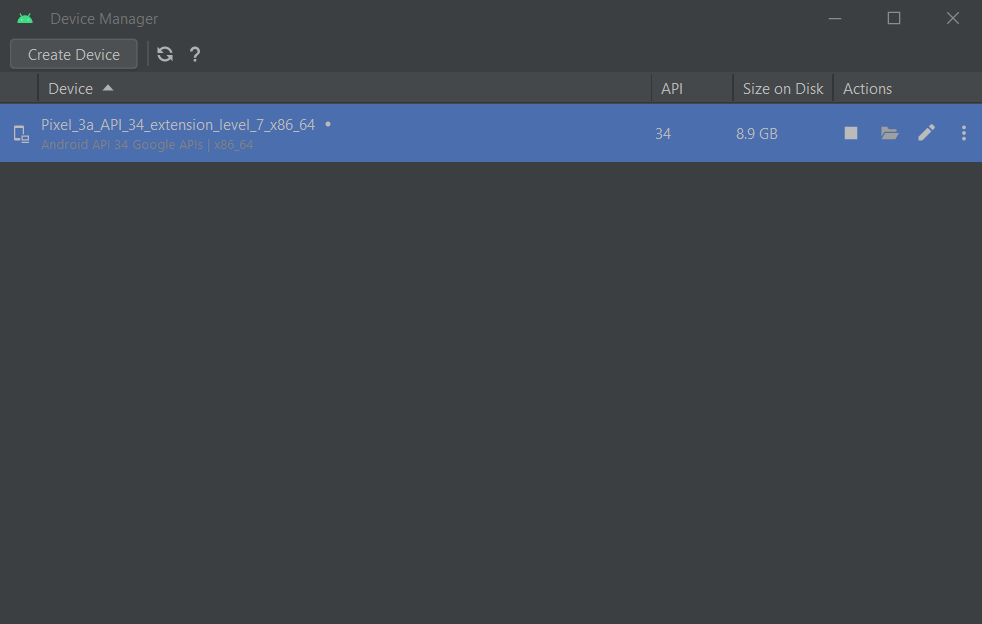
Starting Android Studio, then going into Device Manager and clicking the play button to start the device…
…seems to have worked:
Now to attempt some modifications so I can gradually get a photo viewer… to be continued…