Just back from wonderful travel visiting relatives around Jamaica. It was much-needed refreshment, and my first international trip since Sweden, back in the ‘before times’.

It was great to spend a lot of time with family. I specifically went to see my aged grandma, who is in her 90s but is still sharp as a tack and still going up and down staircases — bodes well for the ‘ol genome. When I complained about carrying some extra pounds, she chided me that I could use a few trips up and down some steps as well. The Greatest Generation rolls like that!
My intrepid hubby rented a car and drove around the island. Everyone, including me, was pretty impressed with his skills — next time I will definitely fly into Montego Bay instead of Kingston, and rent a car.
Perhaps Portland, Jamaica’s potholed roads are a good metaphor for a coding career.

(They are making improvements, but in the meantime here is a hilarious commentary on the lack of repair.) Driving those roads certainly make one question one’s life choices. But then there is a smooth stretch of pavement for a while, and all the struggle and perseverance seems worth it.
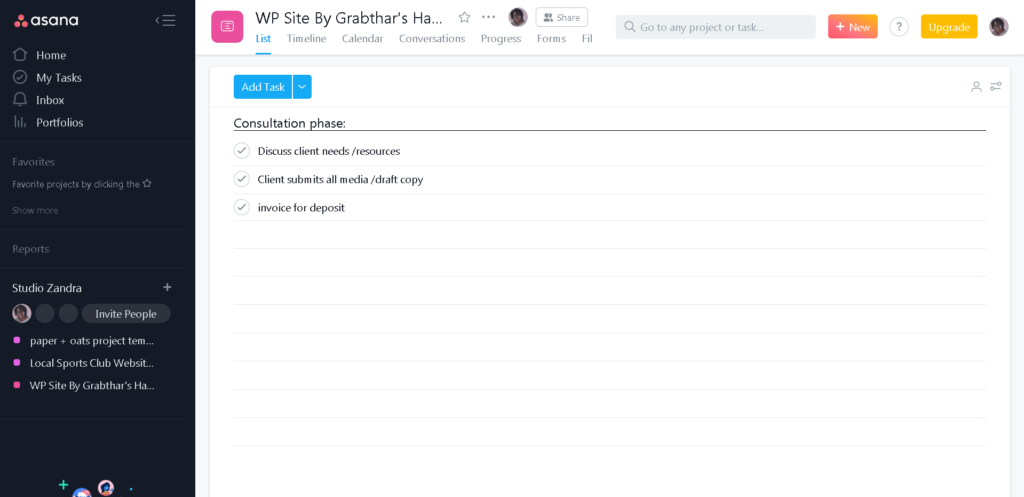
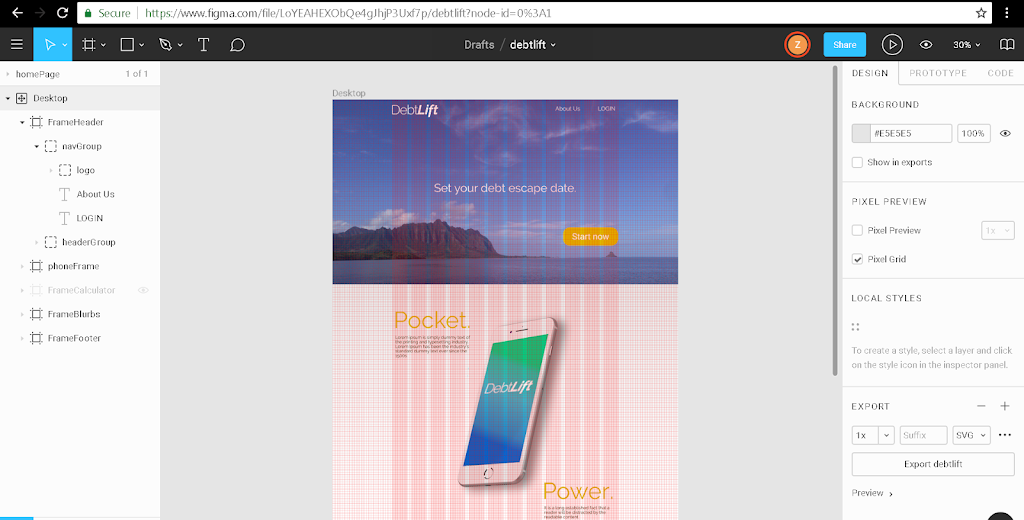
2024 EDIT: The role I posted about. The company seemed great, the people were amazing, the kudos on my progress were good; even React was not as annoying as I’d remembered. I was lead to believe that my hiring was just one of those weird miscommunications of expectations, which sometimes happens when both sides are well-intentioned and perhaps a bit starry-eyed. Once I was reprimanded for ‘slow progress,’ I started pulling extremely unsustainable hours. It turns out that the company was facing severe financial difficulties after over-hiring — I found out that people were laid off or intentionally pushed out. Now I wish I would have listened to advice not to quit, and rode out the tough schedule. Likely at the cost of some health and home life, sure, but at least I would have been able to collect unemployment and maybe even land another role quickly. /END 2024 EDIT
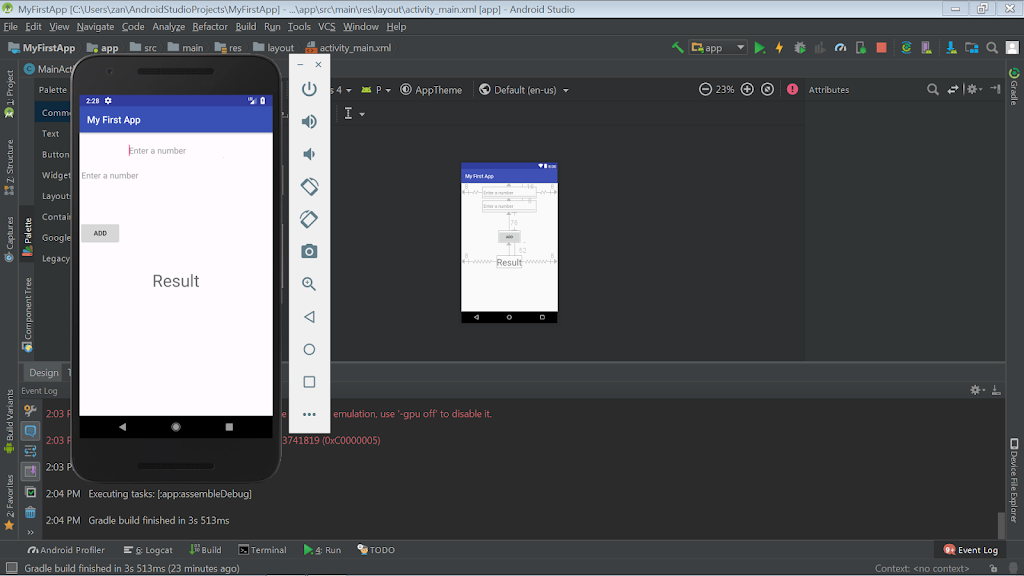
But discovering that I can do the job, ‘drinking from the firehose’ of web development and seeing leaps of improvement, is very validating.
So I’m again at a small fork in the road — should I forge ahead with another dev role, or should I take what I’ve learned and revisit the customer support/management-y realm. Before the Jamaica trip I was experiencing a lot of angst about it, but I’ve been reminded that a lot of people dream to have such decisions before them! My gut says to apply for both tracks and see what turns up. I think I shall sleep on it.